When posting a link to social media, a small preview of the link will be shown as seen on the image below. Ensuring that the preview contains relevant information for the linked page adds a little flair. And for blog posts, it would be nice if it shows information about the blog post itself.
The content of that preview can be controlled using the Open Graph protocol with addition of site-specific properties. Filling title and description is straightforward from a blog post, but having a nice image is slightly trickier and requires creating one in an image editor.
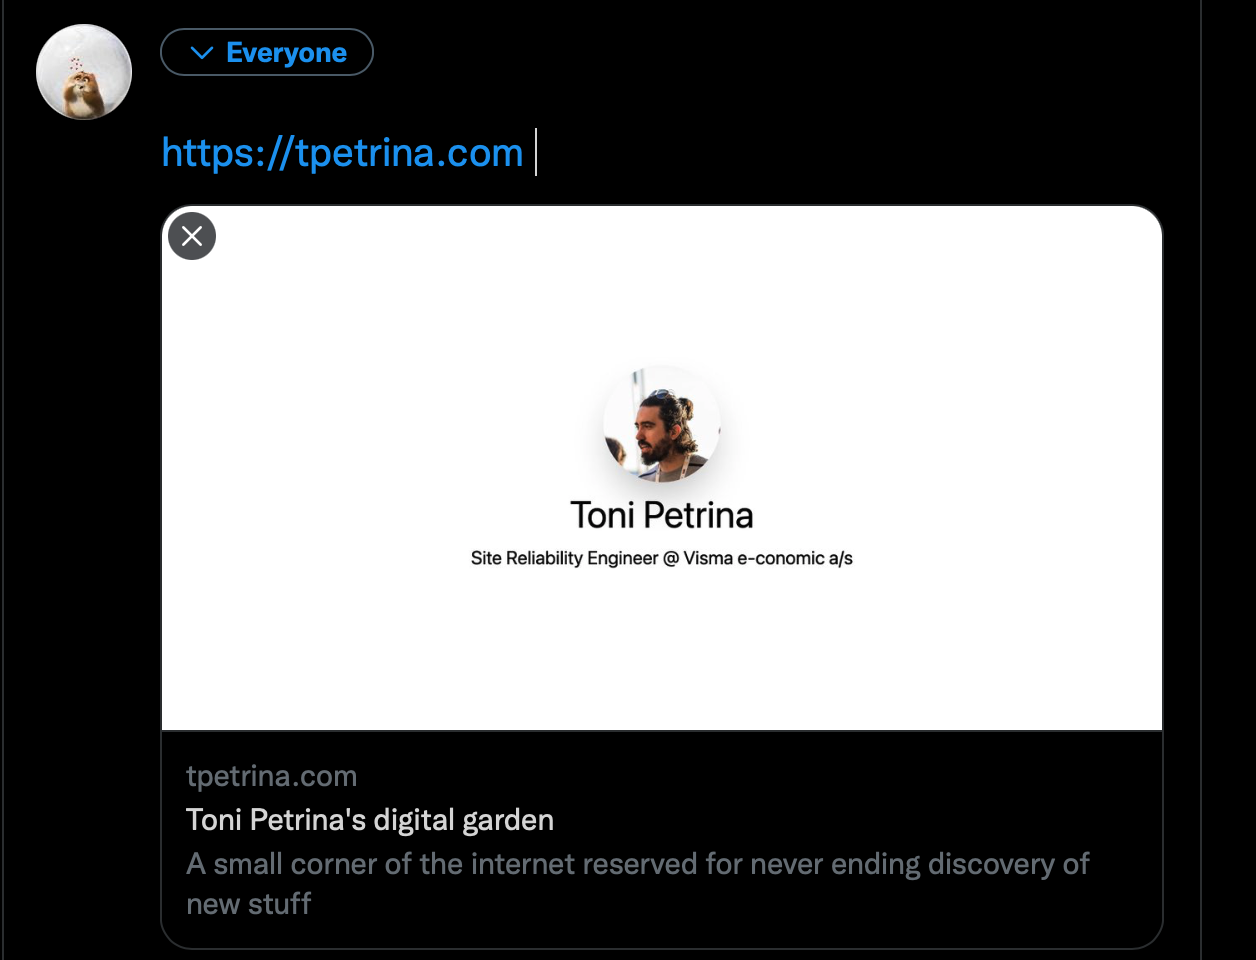
Having a nice preview image is not a strong requirement, but it definitively makes links shine a bit. They could also be informative and display some relevant information, snippet or a hero image related to the link. Even though the image seen above may seem easy to create, after all it's just a photo and two lines of text, due to lack of familiarity with design tools it's a struggle. Formatting, centering, choosing a font and aligning text...these things are not trivial for someone rarely using image editors.
For this particular case I know how I wanted it to look like in terms of elements, placement and overall...somewhat rigid look and feel. The content should be centered on the image - and nicely spaced. How should one go about creating such an image? If only there is a way to use text to describe such image...
Luckily there is a nice way to describe and style such structured content: using HTML and CSS. And I do know HTML and CSS. The page for the image can be seen at banner - the only thing to do now is to render it as an image and publish it with the blog itself.
The banner won't be updated oftan and taking a screenshot in a browser could be enough. It is simple and it works. But that is...too easy. What if I want to adjust something and then retake that screenshot? Could we...automate this?
Enter puppeteer, a headless Chrome. Or more precisely, sindresorhus/capture-website - a simple wrapper for puppeteer with focus on capturing a screenshot given a URL and some parameters.
The script for it couldn't be any simpler:
import captureWebsite from "capture-website";

await captureWebsite.file(
  "http://localhost:3000/banner",
  "public/static/images/banner.png",
  {
    overwrite: true,
    width: 1200,
    height: 630,
  }
);
Updating a banner is one command away: yarn build:banner. Itself being an alias for:
NODE_OPTIONS='--experimental-json-modules' && node ./scripts/update-banner.mjs
Now tweaking the banner and updating won't take too long. And this definitively opens opportunities for the future.